
AIP Tiramisu: How to Make this Delicious Dessert

Are you on the Autoimmune Protocol (AIP) and missing your favorite classic Italian dessert, Tiramisu? Well, we have good news for you! You can still enjoy this delicious treat while following the AIP diet.
Tiramisu is a classic dessert that originated in Italy. It is made with ladyfingers soaked in coffee and layered with a mixture of mascarpone cheese and whipped cream. The top is then dusted with cocoa powder. However, traditional Tiramisu is not AIP-friendly as it contains gluten, dairy, and refined sugar.
But fear not, we have found some amazing AIP Tiramisu recipes that are just as delicious as the original. These recipes use AIP-friendly ingredients such as cassava flour, coconut cream, and maple syrup. So, get ready to indulge in a guilt-free AIP Tiramisu that will satisfy your sweet tooth and leave you wanting more.
Understanding Tiramisu
If you’re a fan of Italian desserts, you’ve probably heard of Tiramisu. This delicious dessert is a layered dish that’s made with ladyfingers, espresso, mascarpone cheese, and cocoa powder. But what is Tiramisu, and how did it become so popular? In this section, we’ll explore the history of Tiramisu and the key ingredients that make it so delicious.
History of Tiramisu
Tiramisu is believed to have originated in the Veneto region of Italy in the 1960s. The name Tiramisu means “pick me up” in Italian, which refers to the coffee and sugar in the dessert that give it an energy boost. While the exact origins of Tiramisu are unknown, it’s believed that the dish was created by pastry chefs and home cooks who wanted to create a new and exciting dessert.
Key Ingredients
The key ingredients in Tiramisu are ladyfingers, espresso, mascarpone cheese, and cocoa powder. Ladyfingers are a type of cookie that’s used as the base of the dessert. They’re dipped in espresso to give them a rich, coffee flavor. Mascarpone cheese is a soft, creamy cheese that’s used to make the filling of the dessert. It’s mixed with sugar and egg yolks to create a light and fluffy texture.
Cocoa powder is used to dust the top of the dessert and give it a rich, chocolatey flavor. While these are the main ingredients in Tiramisu, there are many variations of the dessert that use different flavors and ingredients. For example, some recipes use liqueur or whipped cream to add extra flavor and texture.
In conclusion, Tiramisu is a delicious Italian dessert that’s made with ladyfingers, espresso, mascarpone cheese, and cocoa powder. Its origins are unclear, but it’s believed to have been created in the 1960s. While the key ingredients are simple, there are many variations of the dessert that use different flavors and ingredients.
Dietary Variations of Tiramisu
If you’re on a specific diet, you might be wondering if you can still enjoy the deliciousness of tiramisu. The good news is that there are several dietary variations of tiramisu that cater to different dietary needs. Here are some of the most popular ones:
Vegan Tiramisu
For those who are on a vegan diet, you can still enjoy the heavenly taste of tiramisu. Vegan tiramisu is made without any dairy products, such as mascarpone cheese, which is a key ingredient in traditional tiramisu. Instead, vegan tiramisu uses cashews, coconut cream, or tofu as a substitute for mascarpone cheese. Vegan tiramisu is also often made with almond or oat milk instead of regular milk.
Paleo Tiramisu
If you’re on a paleo diet, you might be concerned about the sugar content in traditional tiramisu. Paleo tiramisu is made using natural sweeteners like honey or maple syrup instead of refined sugar. It’s also made with almond flour instead of regular flour, which makes it gluten-free. Paleo tiramisu also uses coconut cream instead of mascarpone cheese.
Gluten-Free Tiramisu
For those who are gluten intolerant or have celiac disease, traditional tiramisu is a no-go. Gluten-free tiramisu is made using gluten-free ladyfingers, which are made with gluten-free flour, such as rice flour or almond flour. Gluten-free tiramisu also uses gluten-free substitutes for regular flour, such as coconut flour or almond flour.
It’s important to note that some of these dietary variations may not taste exactly like traditional tiramisu, but they are still delicious in their own right. With these dietary variations, you can still indulge in the heavenly taste of tiramisu without compromising your dietary needs.
Tiramisu Recipe Fundamentals
Are you a fan of Tiramisu but looking for a recipe that is Autoimmune Protocol (AIP) friendly? Look no further! In this section, we will cover the fundamentals of creating a delicious AIP Tiramisu.
Classic Tiramisu Recipe
The traditional Tiramisu recipe calls for ingredients such as mascarpone cheese, ladyfingers, and cocoa powder. However, these ingredients are not allowed in an AIP diet. So, what are the alternatives?
Alternative Ingredients
For the mascarpone cheese, you can use coconut cream or cashew cream as a substitute. These alternatives provide a creamy texture and are dairy-free.
Instead of using ladyfingers, you can use plantain chips or sliced sweet potatoes. These alternatives provide a similar texture to the ladyfingers and are AIP-friendly.
Lastly, instead of using cocoa powder, you can use carob powder. Carob powder is a great alternative to cocoa powder and is AIP-friendly.
By substituting these ingredients, you can create a delicious AIP Tiramisu that is sure to satisfy your sweet tooth.
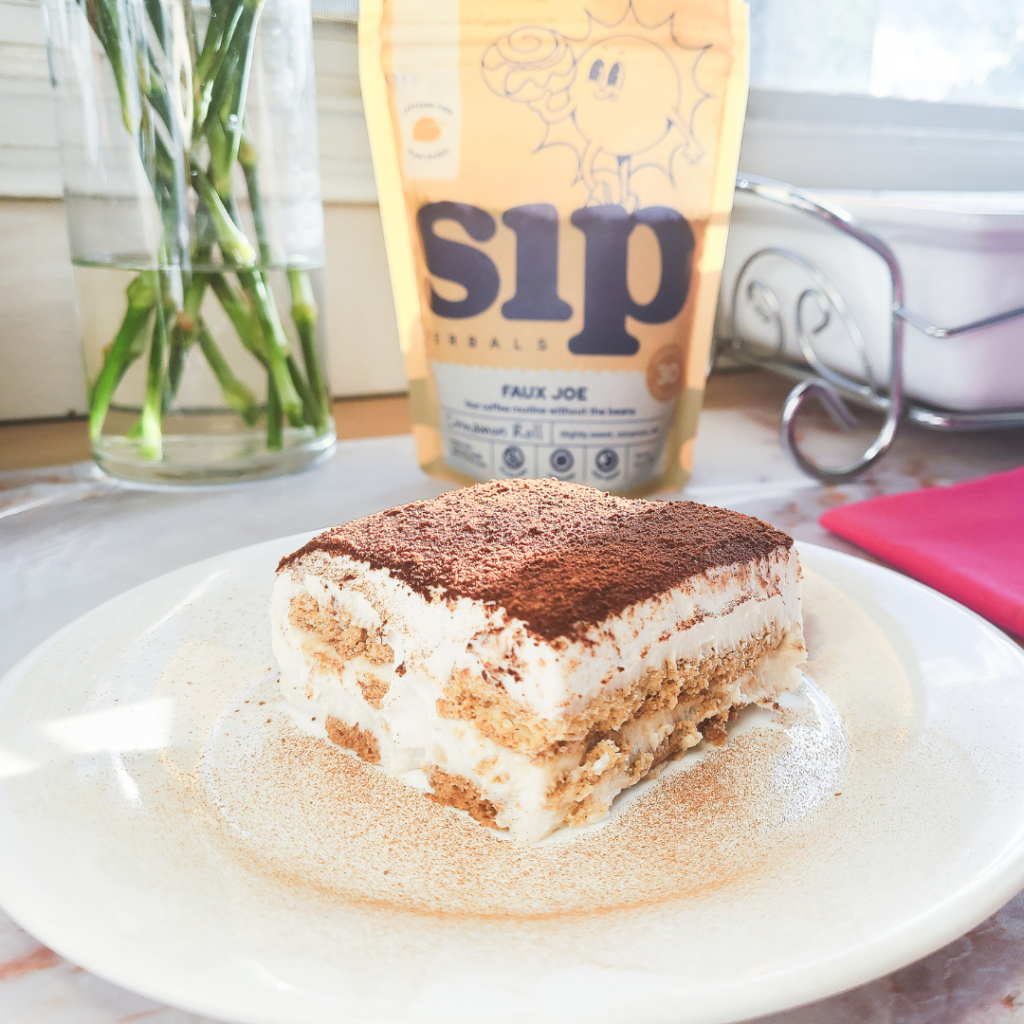
AIP Tiramisu
Discover the perfect AIP Tiramisu recipe for a guilt-free indulgence. This autoimmune protocol-friendly dessert combines rich flavors with healthy ingredients, offering a delicious alternative for those with dietary restrictions.
Ingredients
For the Lady Fingers
- 1 package Eat Gangster sugar cookie mix
- ¼ cup coconut oil
- 7 tbs maple syrup
- 3 tbs of the brewed Sip Faux Joe Cinnamon Roll
- About 3 tbs coconut sugar for sprinkling
- 1 quart or gallon sized ziplock bag or piping bag
- Parchment Paper
For the Custard
- 4 cups or 3 cans coconut milk or cream
- 7 tbs maple syrup
- 1 ½ tbs alcohol free vanilla
- 3 tsp lime or lemon juice
- ¾ tsp salt
- 5 -6 tbs cassava flour
- 1 tbs gelatin bloomed
- ¼ cup water for the blooming
For Assembly
- Remaining Faux Joe brew in a bowl
- 2 tbs carob powder
Instructions
Sugar Cookie Dough:
- Prepare Sugar Cookie dough according to package instructions, except instead of 2 ½ tbs of water, use 3 tbs of the brewed, strained Sip’s Faux Joe Cinnamon Roll.
- Cut one bottom corner of your ziplock bag (about ½ inch in diameter). Fill the bag with about half of the cookie dough. Keep the other half covered.

- On a parchment-covered sheet pan, begin piping out strips of dough about 3 inches long, keeping them about 2 inches apart. This dough is thick, so going slowly and carefully helps and will keep your Ziploc bag intact and the cookies uniform. As the name implies, the tubes should be about the length and thickness of a lady’s finger right now! You will likely have to do this in batches; you should end up with about 30 cookies, give or take a few, depending on the size of your “fingers”. If the piping opening is getting bigger, you can snip the other corner of the Ziploc halfway through and continue on the new side to help keep your cookie tubes uniform.
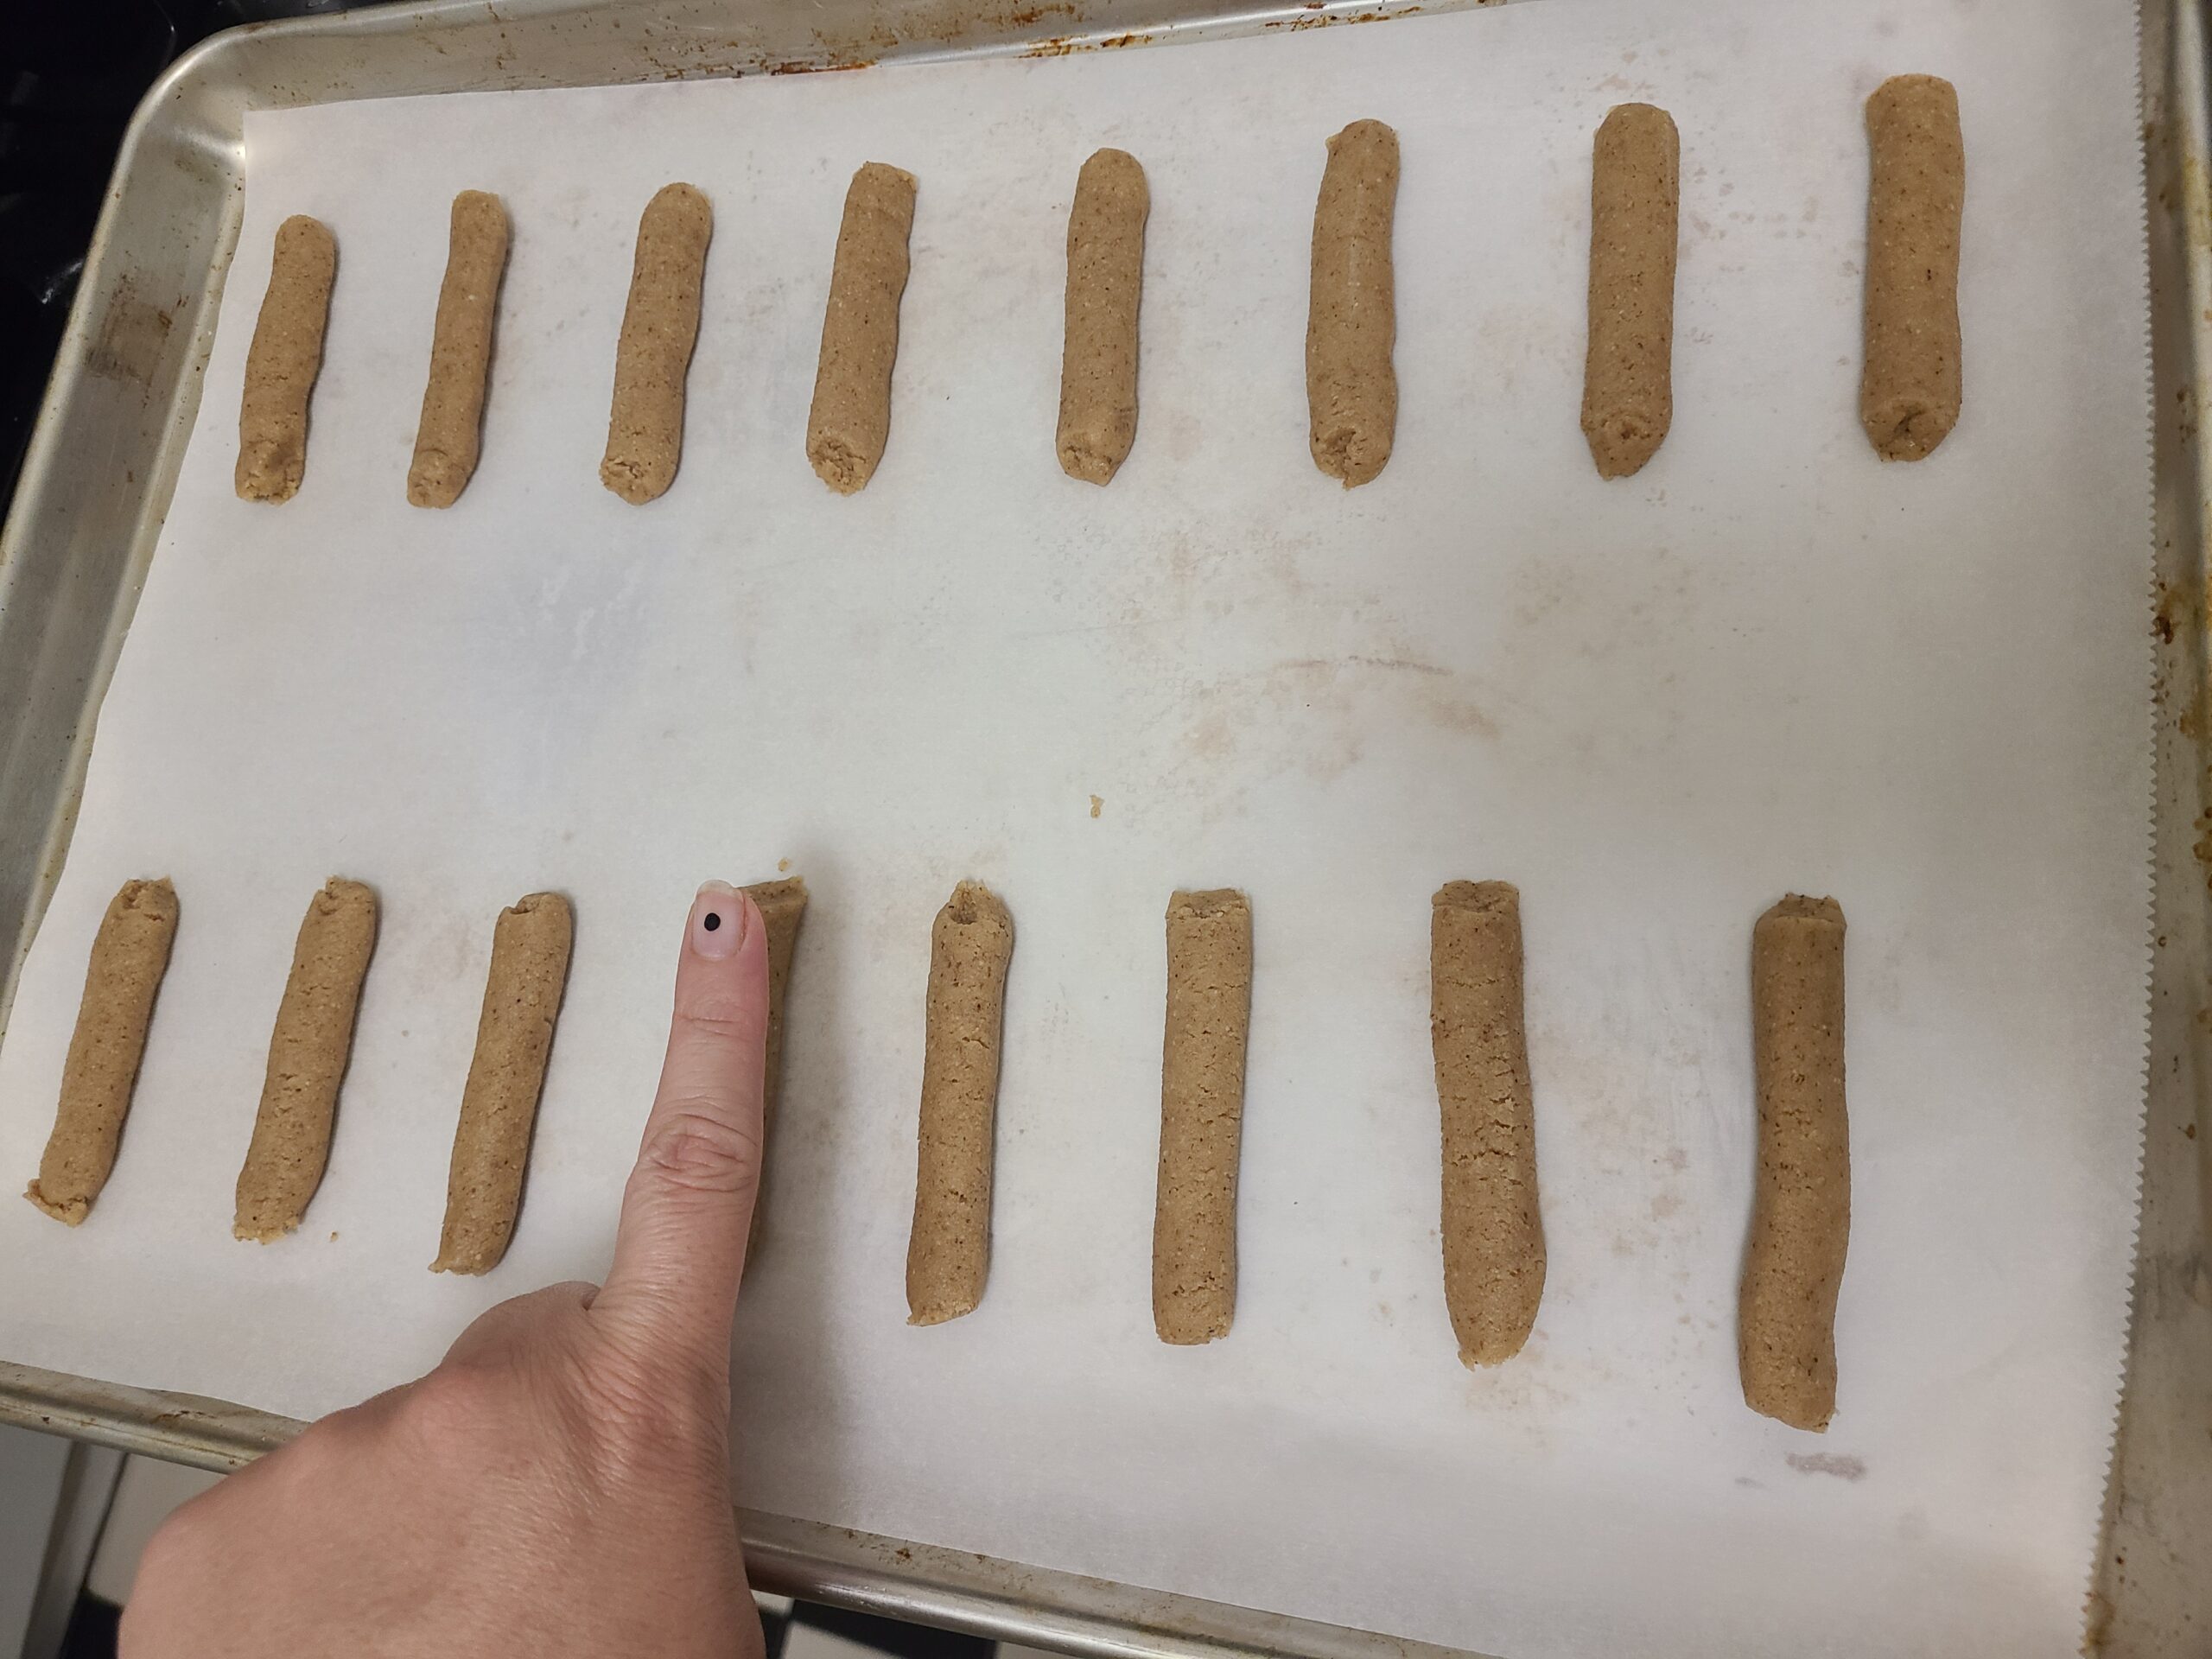
- Once you are finished piping, gently press down on each cookie with your finger and round the edges. Sprinkle coconut sugar on each cookie and press again lightly.
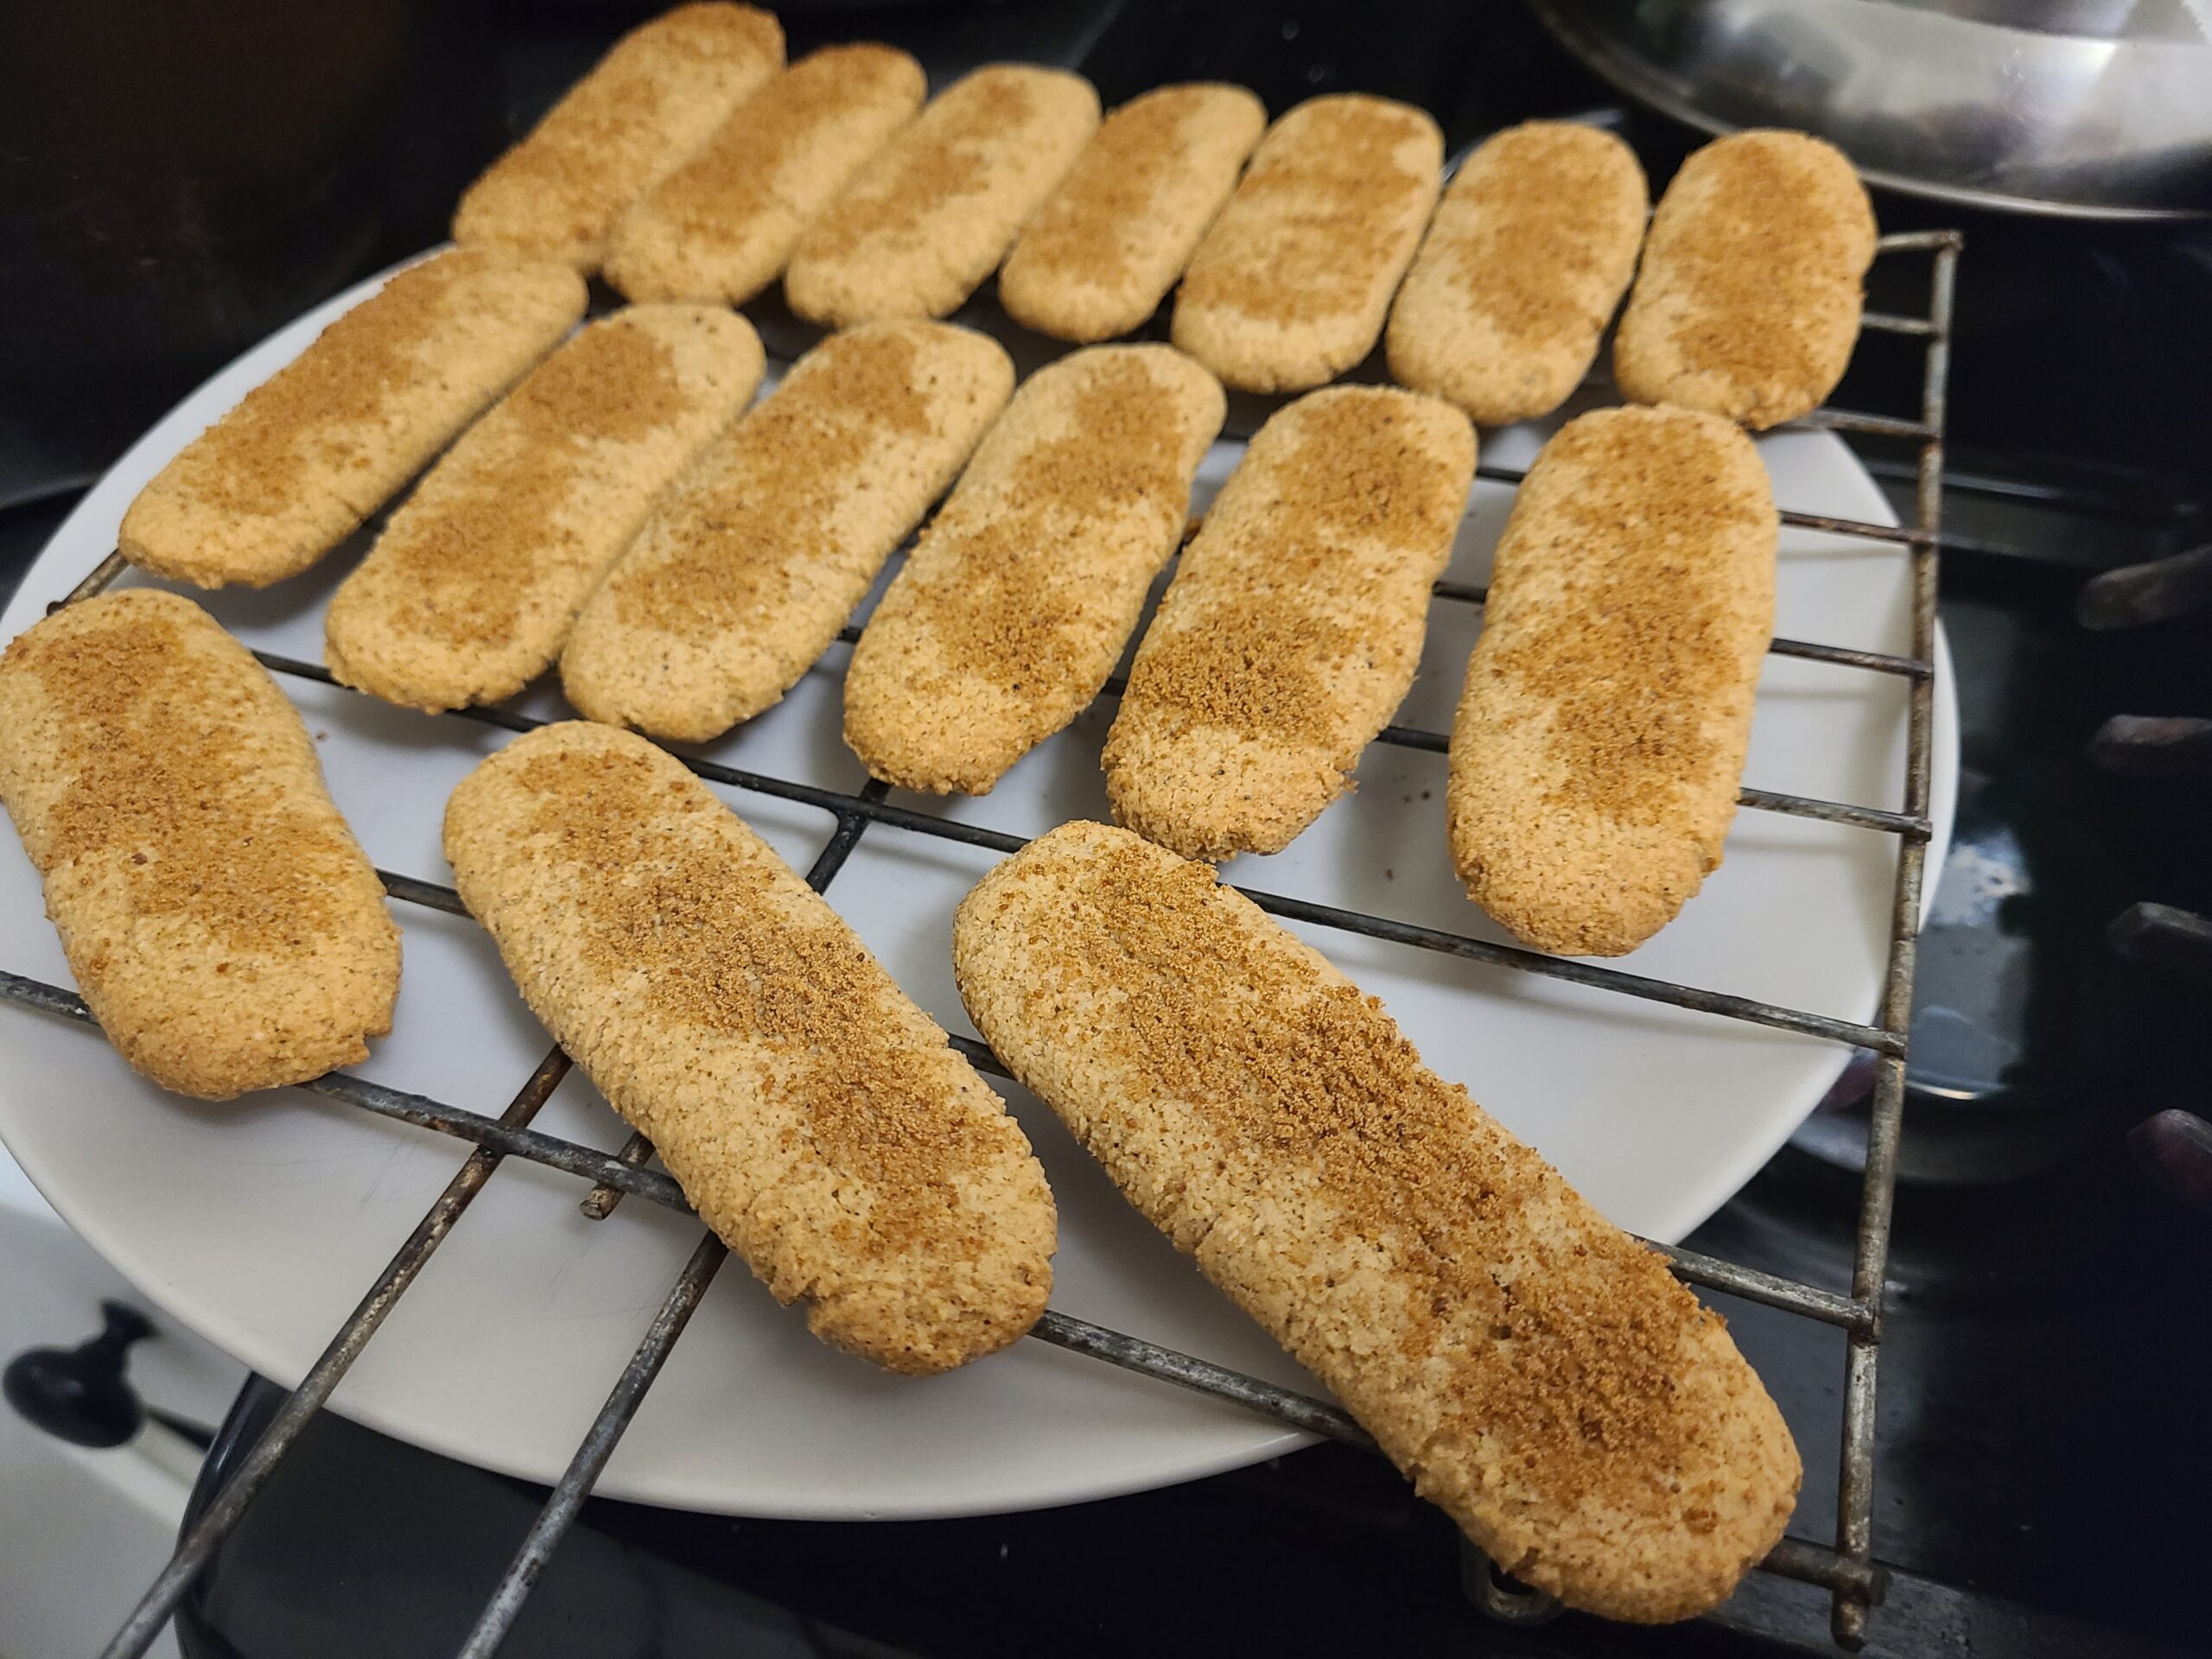
- Bake at 350 for 15 minutes. Leave on a rack overnight. (We want them completely dry and crunchy!)
Custard
- In a bowl, sprinkle the gelatin over ¼ cup of water and let it sit for at least 5 minutes to bloom. In another bowl, combine a ½ cup of room-temperature coconut milk with the cassava flour, mix well to remove any lumps, and set aside. (This slurry keeps the flour from clumping up when added to hot liquid.)
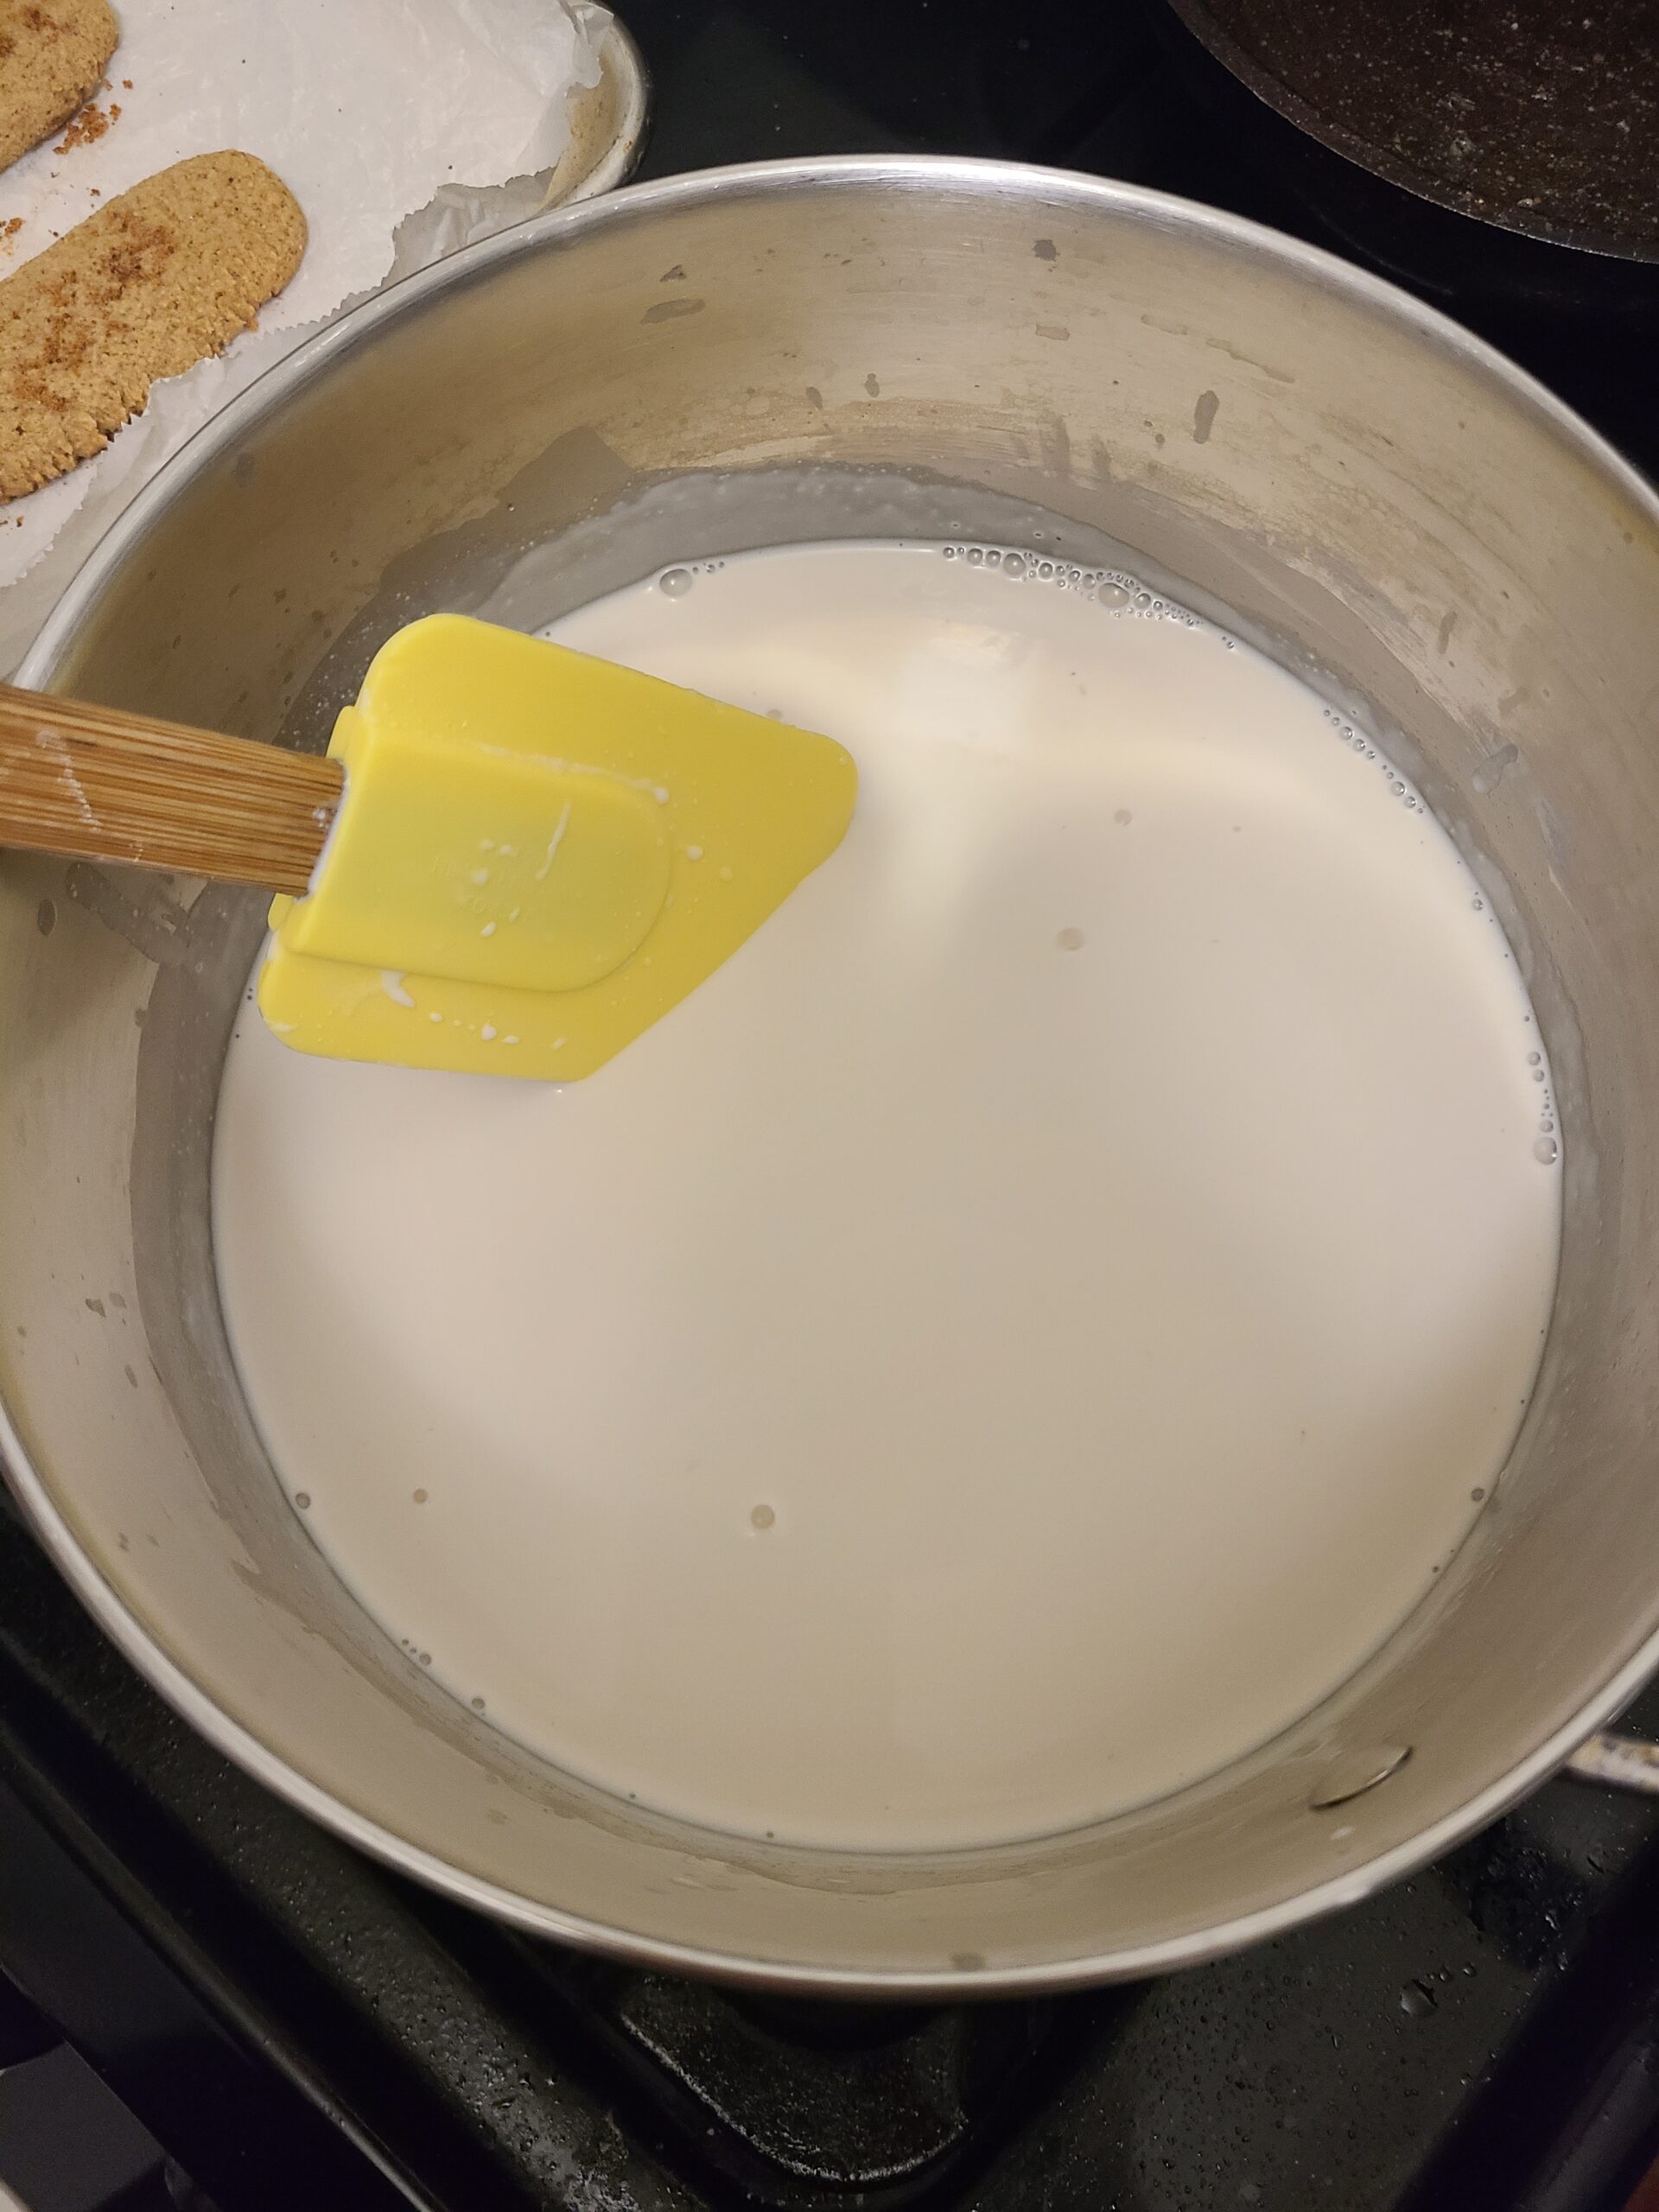
- Add the rest of the coconut milk, maple syrup, vanilla, lime, and salt to a saucepan and stir continuously over med/ low heat. You will not taste the lime or salt but they are the secret in creating the “cheesy” notes we seek. When it starts to simmer, add in the gelatin and continue stirring until the gelatin melts into the liquid. Slowly add in the cassava mixture. (Make sure to give it another quick stir first, as the flour tends to settle on the bottom.) Keep the temperature at a simmer and continue stirring. The cream should start to thicken quickly. Continue stirring for a few minutes, keeping the heat low. Once the thickening slows, remove from heat and pour into s a tempered glass dish or metal mixing bowl. Stir occasionally for the next 10 minutes or so to cool, then cover and refrigerate for at least 4 hours.
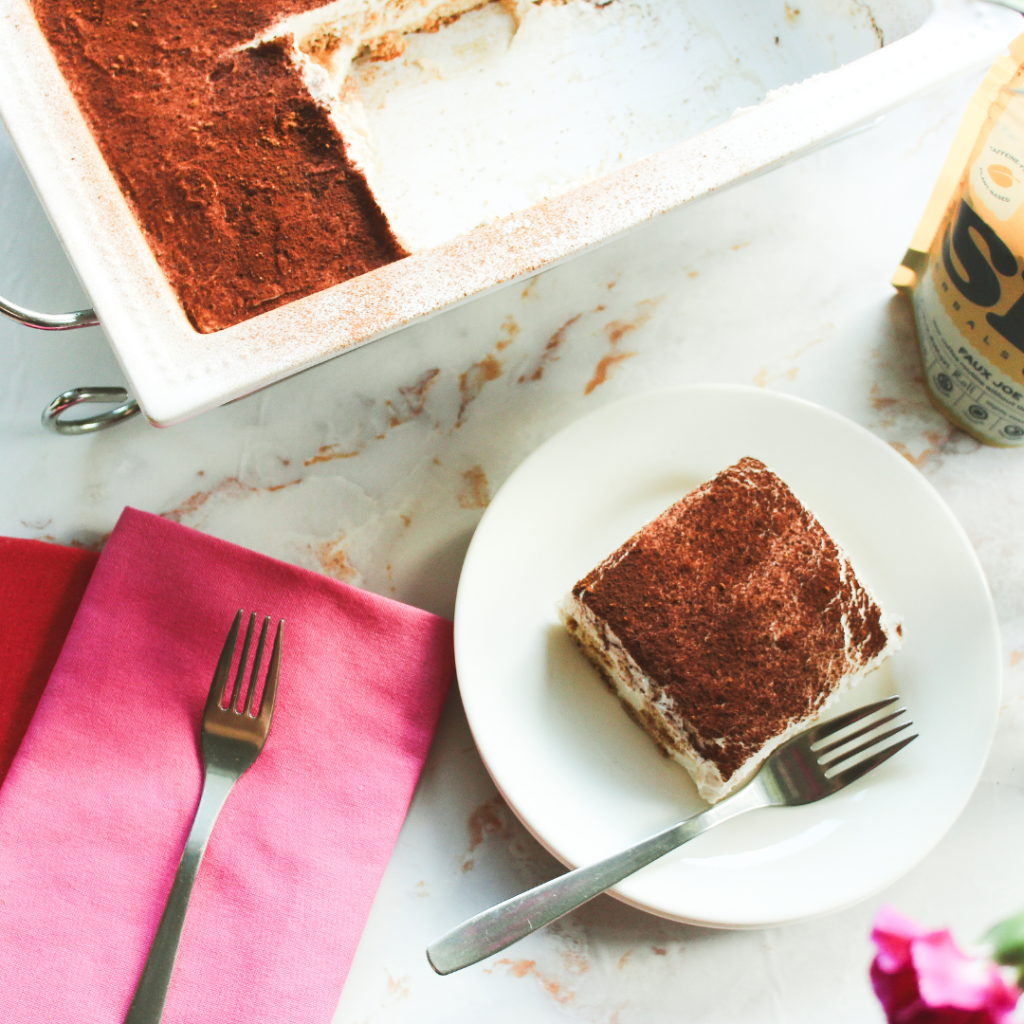
Assembly
- These quantities are best suited for an 8 x 8 square pan/dish; there are enough cookies for a larger vessel, but you would have to make 1.5 times or double the custard to achieve the same proportions.
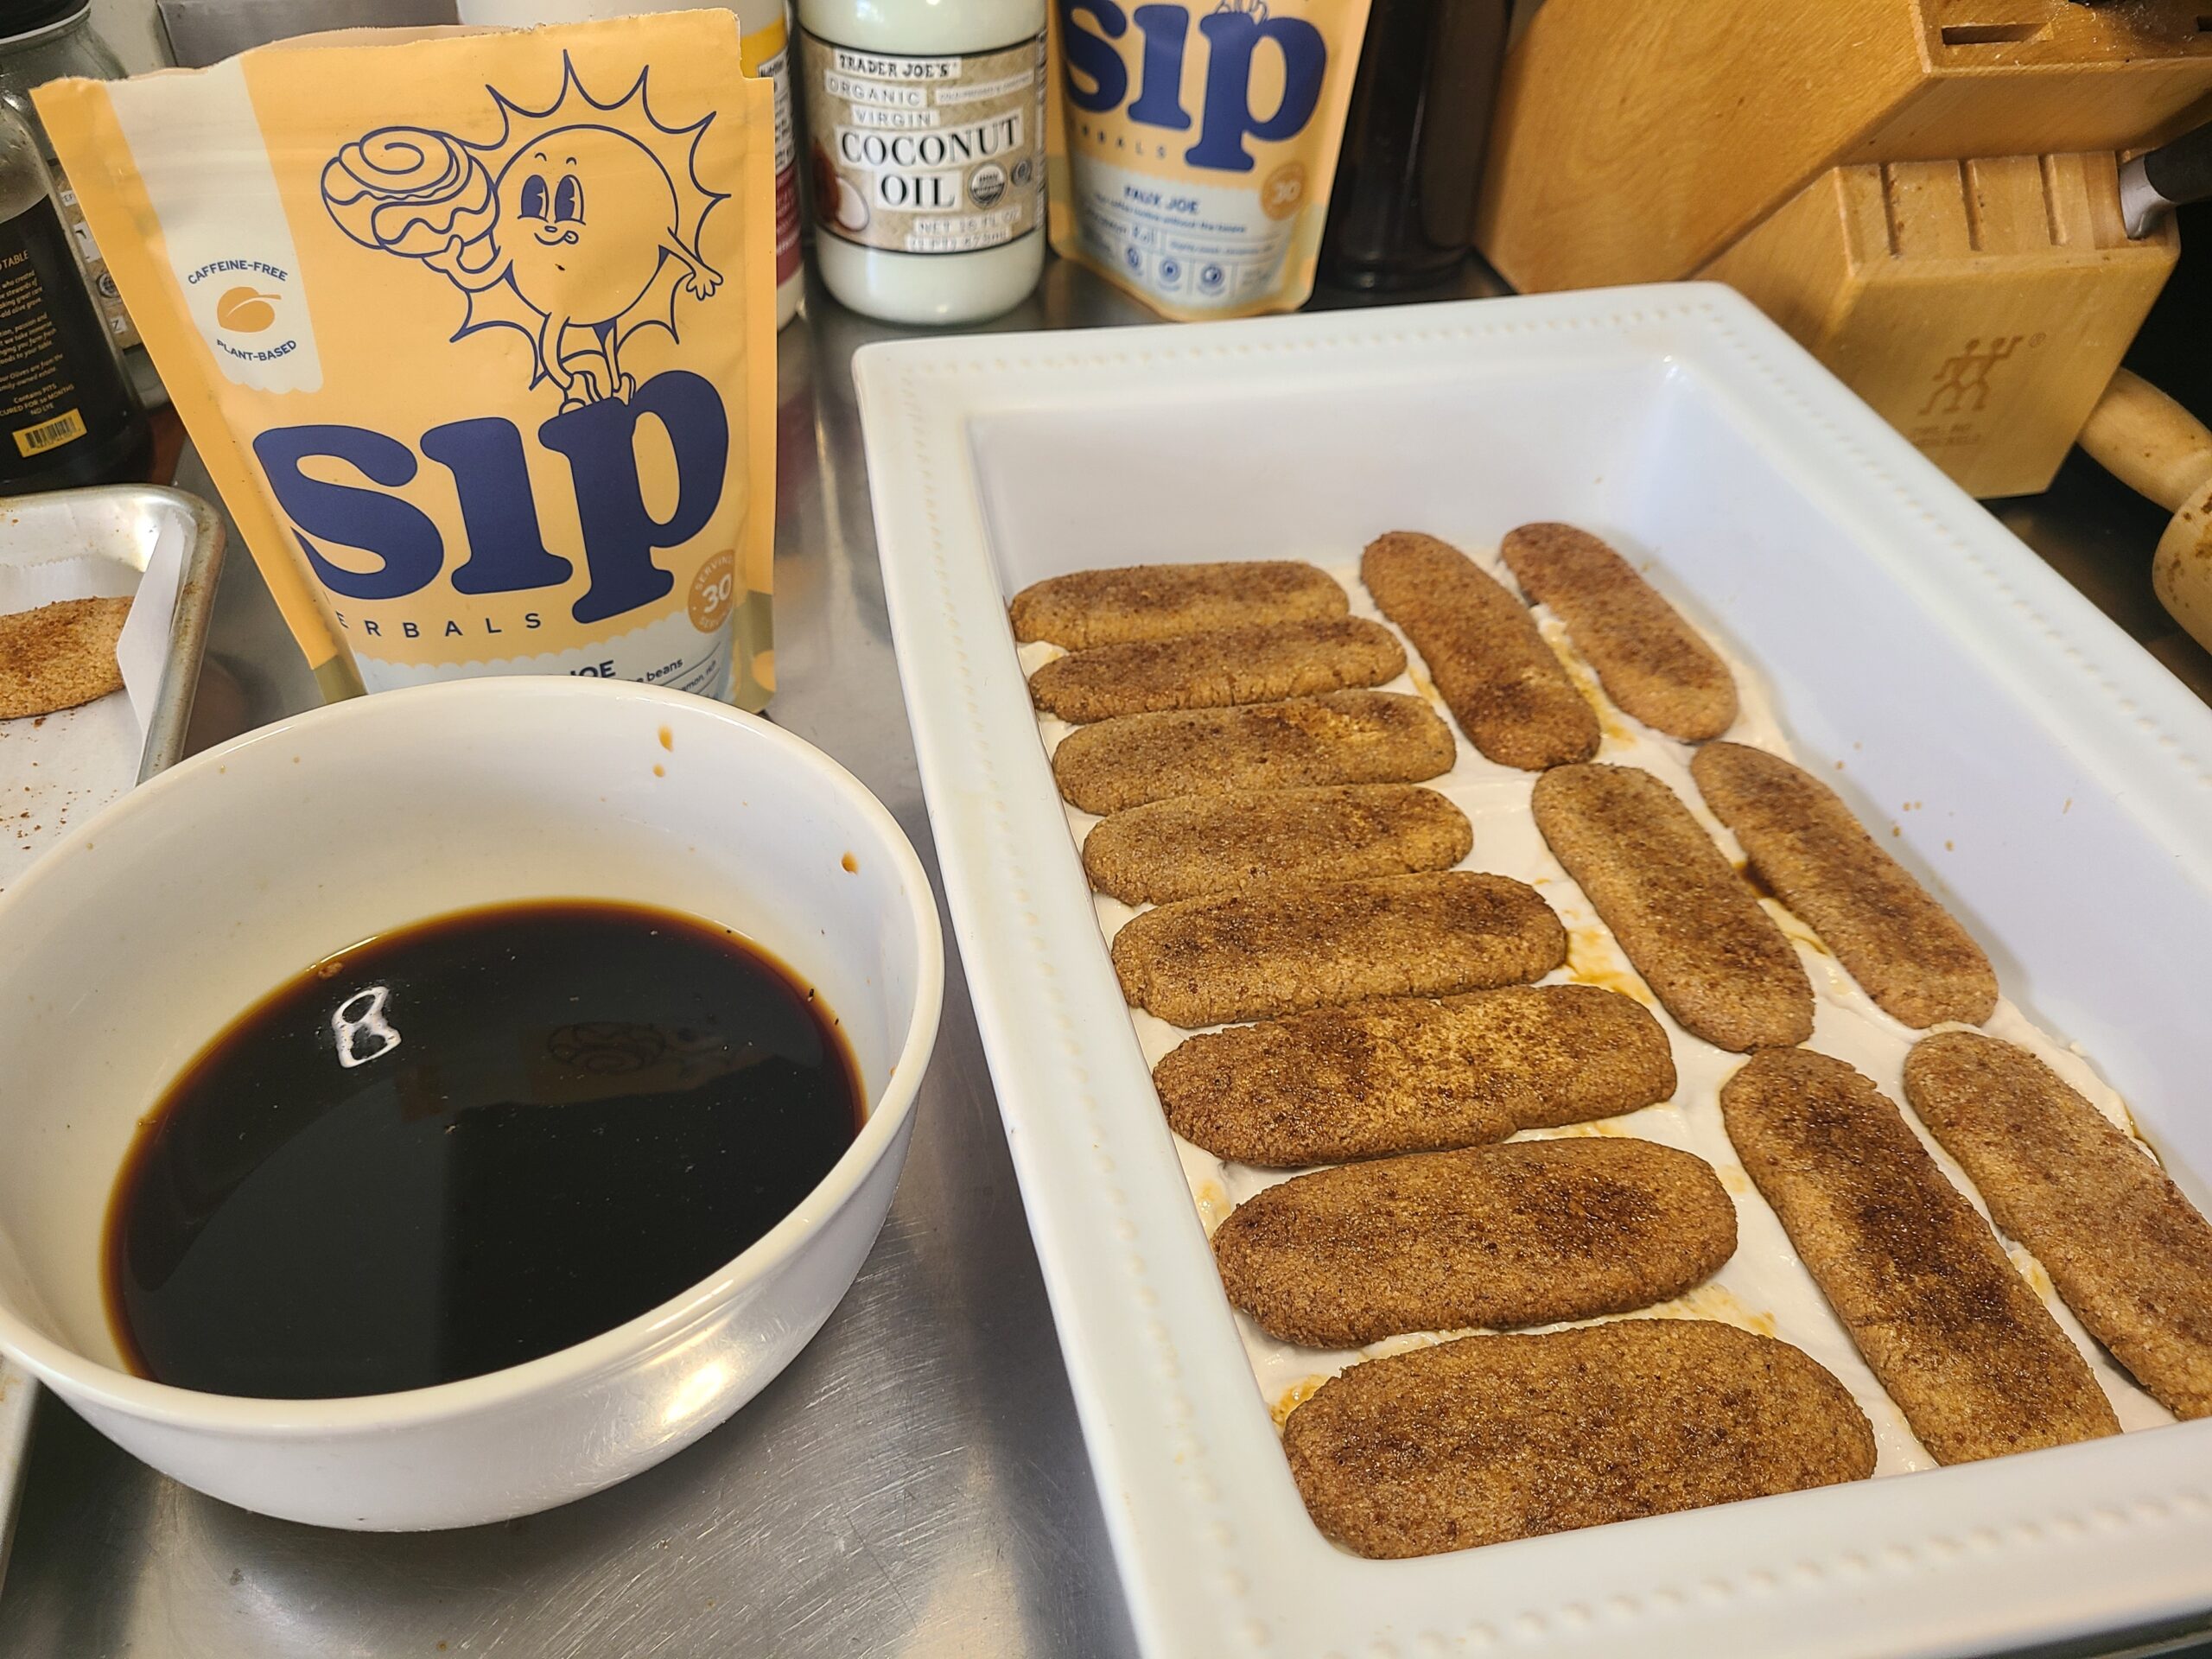
- One at a time, quickly double dip each ladyfinger in the (cool) Faux Joe and arrange in a single layer on the bottom of your dish. Spread half of the custard mix over the cookies, using a spatula or back of a spoon to smooth. Repeat step one – dipping and placing ladyfingers in a single layer on top of the custard, just like the base. Pour and spread the rest of the custard mix evenly on top.
- Refrigerate at least 4 hrs or overnight.
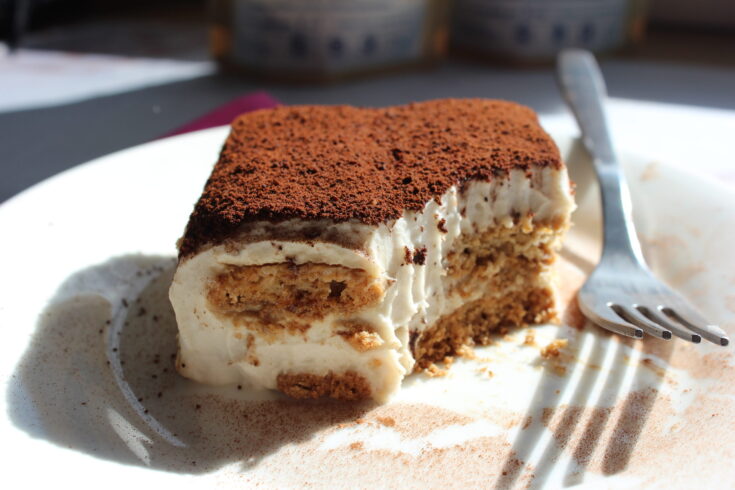
- – Use the fine mesh strainer to dust the top of the tiramisu with carob powder and serve!
Notes
Nutrition Information:
Yield:
8Serving Size:
1Amount Per Serving: Calories: 655Total Fat: 43gSaturated Fat: 36gTrans Fat: 1gUnsaturated Fat: 3gCholesterol: 5mgSodium: 357mgCarbohydrates: 67gFiber: 2gSugar: 31gProtein: 6g

Kelly Raulerson is a writer and published cookbook author specializing in wellness, cooking, and food. She ran a successful food blog for over 15 years, building a loyal audience through rigorously tested recipes and practical wellness guidance for women. Her work includes authoring a cookbook, speaking at a WordPress conference, appearing in television segments for brand partnerships, and producing long form editorial content rooted in research and real world testing. With a Bachelor of Arts in English from Northern Arizona University, Kelly brings both discipline and clarity to her writing, focusing on advice that is useful, accurate, and grounded rather than trend-driven.


